
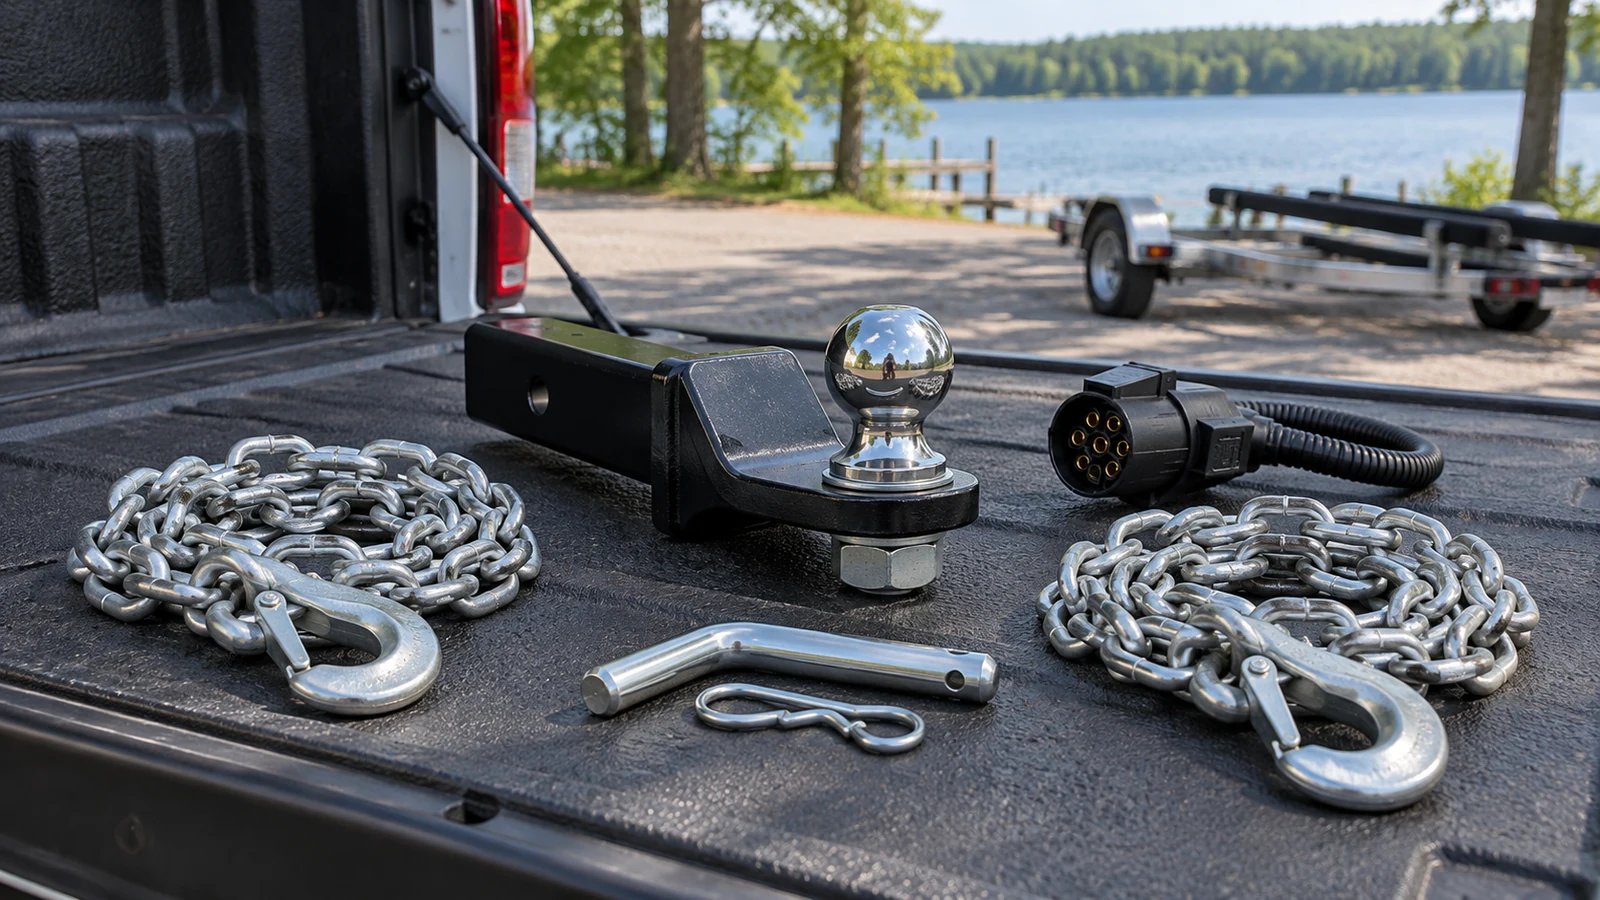
Lake season around Runaway Bay does not start with the boat. It starts with the trailer that has been parked behind the shop since last September, the wiring plug nobody looked at, and the bearings that took a dunk in Lake Bridgeport nine months ago and have been sitting wet ever since. Northwest Wise County runs on towing this time of year: boats going down the ramp, utility trailers hauling brush and building material for property work, and work trucks doing both in the same weekend. This is a practical pre-season walk-through of the towing hardware that actually strands people, what to inspect before the first trip, and what to have on the truck so a small problem on a county road does not end the day.
Start With a Pre-Season Trailer Walk-Around
Do this in the driveway, in daylight, with the trailer hitched and the tongue jack off the ground. Loaded beats empty if you can manage it, because a loaded trailer shows what the suspension and tires actually do.
- Tires first. Check pressure cold against the sidewall number, not the truck's number. Trailer tires run higher pressure and give no steering feedback to warn you when they are low. Fine spiderweb cracking in the sidewall means the rubber is aging out even if the tread looks new, and trailer tires die of age and ultraviolet exposure far more often than of wear.
- Check the spare. It has been sitting under the tongue in the weather. If it is flat or the mounting bolt has rusted solid, discover that now rather than beside the highway.
- Lug nuts. Spin each wheel by hand, then check the lugs with a torque wrench in a star pattern. Trailer wheels loosen more than truck wheels because the trailer hits bumps harder.
- Suspension and frame. Look for cracked leaf springs, worn shackle bushings, and rust bubbling at the welds around the tongue and axle mounts. On a boat trailer, look hardest at whatever gets submerged.
- Coupler and latch. It should move freely and lock positively. Grease the ball socket.
- Jack and winch. Crank the tongue jack all the way up and down. Check the winch strap for fraying and the hook for a working safety latch.
- Lights. Have someone work the brake pedal, turn signals, and hazards while you walk behind the trailer, then repeat with the running lights on. Do not assume the marker lights work because the brake lights do.
Write down what you find and what you need. One list turns into one trip to the counter instead of three.
Trailer Wiring: 4-Pin Versus 7-Pin and Why Connectors Corrode
Trailer wiring is the number one reason a trailer that worked fine last fall will not work in May.
A 4-pin flat connector carries the basics: ground, running lights, left turn and brake, right turn and brake. That is all a small utility trailer or a light boat trailer needs.
A 7-pin round connector carries those four circuits plus three more: a 12-volt auxiliary or charge line, a reverse circuit, and the electric brake output. If a trailer has electric brakes, it needs the 7-pin. Adapters that let a 7-pin trailer plug into a 4-pin truck do nothing for the brakes, because the truck side has no brake circuit to give.
Corrosion happens for reasons specific to how trailers get used around Lake Bridgeport:
- Water intrusion. A boat trailer plug gets splashed, rained on, and sometimes dunked. Water sits in the pin cavities and the copper goes green.
- Dissimilar metals. Pin contacts, brass hardware, and steel frames in a wet environment make a small battery, and the corrosion that results is electrical resistance.
- Vibration. Miles of washboard county road shake crimps loose, especially where wiring was spliced with twist connectors instead of crimped and sealed.
- Ground faults. Most trailer light problems are ground problems. A trailer grounding through a rusty frame bolt instead of a dedicated ground wire produces strange symptoms: brake lights that dim when the turn signal blinks, markers that glow when the brakes are applied.
The fixes are simple. Clean the pins with a small brass brush and contact cleaner rather than sandpaper. Pack the connector with dielectric grease so water cannot sit on bare metal. Replace a connector once the pins look pitted or the plug fits loosely, since a loose plug arcs and makes the problem worse. Run a real ground wire from the light circuit to a clean, bare spot on the frame with a star washer. Replace twist-style splices with crimped, heat-shrink-sealed connections, and keep a boot on the connector when the trailer is parked.
A light that only fails under load or over a bump is almost always a chafed wire where the harness crosses the frame, or a corroded ground. Connectors, pigtails, harnesses, sockets, bulbs, LED markers, crimp terminals, heat shrink, dielectric grease, and loom are all counter items, and brands we carry such as Dorman cover a lot of the electrical small parts. The full list is on our brands page.
Hitch Balls, Ball Mounts, and Getting the Drop Right
Three numbers have to agree before a ball and coupler are safe together.
Ball diameter must match the size stamped on the coupler. The common sizes are 1-7/8 inch, 2 inch, and 2-5/16 inch, close enough in appearance that people mix them up constantly. A 1-7/8 ball under a 2-inch coupler will latch, feel connected, and then come off over a bump. Read the stamping, not your memory.
Shank diameter has to fit the ball mount hole, with the correct washer and nut torqued down. A ball flopping in an oversize hole wears both parts.
Capacity ratings appear stamped on the ball, the mount, the hitch receiver, and the coupler, and the weakest one governs the whole setup. Upgrading a ball does not upgrade a receiver.
A trailer should sit at the attitude specified by its manufacturer when loaded. Nose height alone does not establish tongue weight: weigh the loaded combination and confirm payload, axle, hitch, and tongue-weight limits. Poor load distribution can cause sway even when the trailer appears level. Use measured receiver and coupler heights to choose rise or drop, then verify the actual loaded setup.
To pick the right ball mount, measure ground to the inside top of the receiver opening, then ground to the bottom of the coupler with the trailer level on its jack. The difference is the drop or rise you need. Write both numbers down before coming to the counter, because matching a mount with numbers in hand beats holding one up and guessing.
Keep a properly retained receiver pin and label mounts by application. Lubricate a conventional ball only if the coupler maker calls for it; some friction-type systems must remain ungreased. Tighten ball hardware to its specified torque and recheck as directed.
Safety Chains, Breakaway Cables, and Brake Controller Harnesses
Safety chains are the last line of defense and the most commonly rigged wrong. Cross them under the tongue in an X so that if the coupler comes off the ball, the tongue drops into the cradle the chains form instead of digging into pavement. Leave enough slack to turn sharply but not enough to drag. Use chains and hooks rated for the loaded weight, with working safety latches. A hook with the latch broken off unhooks itself.
Breakaway cables on brake-equipped trailers pull a switch that applies the trailer brakes if the trailer separates. Attach the cable to the receiver or a dedicated loop, never to the ball mount you might lose along with the trailer, and never to a safety chain.
Brake controller wiring is the piece people put off. Many newer trucks have an integrated controller and a factory connector behind the dash; older trucks need an aftermarket controller and a harness. The wiring involves a fused power feed, a ground, a brake-light signal wire, and the output to the trailer's blue brake wire at the 7-pin. Vehicle-specific harness adapters exist for many trucks and are far cleaner than splicing into factory wiring. Bring us the year, make, and model of the truck and the type of trailer brakes so we can check what we have on hand. We sell the parts; the wiring work happens in your driveway, since we do not perform installation.
Set and test brake-controller gain using the controller, vehicle, and trailer manufacturer's procedure in a safe location. Do not apply a generic road-speed or wheel-lock method to every system. A qualified installer should confirm wiring and operation, particularly for electric-over-hydraulic brakes or an unfamiliar controller. Recheck the setup when loading changes.
Tow Strap Versus Recovery Strap: The Difference That Hurts People
This distinction is worth more than any other paragraph in this post, because getting it wrong is how people get hurt at boat ramps and in pasture mud.
A tow strap has minimal stretch. It is built to pull a vehicle that rolls freely: a rig out of gear being towed to a shop, a trailer repositioned on a flat surface. Tow straps often come with metal hooks sewn into the ends. Slow, steady, no slack, no snatching.
A recovery strap stores and releases elastic energy under load. Its rating, permitted stretch, attachment method, and use procedure are product-specific. Kinetic recovery is not a casual substitute for towing: if you lack training, verified recovery points, or a safe working area, stop and use a qualified recovery service rather than attempting a rolling-start pull.
Now the dangerous combinations:
- Using a tow strap as a snatch strap. No stretch means the entire shock of the pull hits the strap and both vehicles' attachment points at once. Something breaks, and whatever breaks flies.
- Using a recovery strap as a tow strap. The stretch makes the towed vehicle surge and the rig ahead of it hard to control.
- Metal hooks on a kinetic recovery. A hook is a heavy projectile attached to an elastic line under enormous load. Recovery straps should be looped and connected with rated shackles, ideally soft shackles, never hooks.
- Attaching to a hitch ball. Never. A ball is designed for a downward and forward pull, not a horizontal shock load. Balls shear off and travel far enough to kill. Use a rated recovery point, a shackle mount that slides into the receiver, or a frame-mounted recovery point.
- Attaching to axles, tie-down loops, bumpers, or suspension parts. Factory tie-down loops hold a vehicle to a transport deck; they are not recovery points. Use what the manufacturer rates for recovery.
- Bystanders near the recovery. Follow the equipment maker's full exclusion-zone instructions, keeping people clear of both vehicles and the recovery line. A damper may reduce recoil, but it does not prevent hardware failure or make an unsafe attachment acceptable.
- Wrong capacity. Straps and shackles both carry ratings. Match the strap to the vehicle weight and retire anything with cuts, abrasion, stiff spots, or ultraviolet damage.
A sensible kit for a truck that tows around the lake: a tow strap, a separate recovery strap, two rated D-ring or soft shackles, a receiver shackle mount, heavy gloves, a dampener, and a folding shovel. Straps, shackles, tie-downs, ratchet straps, and recovery gear live with the rest of our truck accessories.
Wheel Bearings: The Failure That Ends the Weekend
Boat trailer bearings live the hardest life in towing. They get hot on the drive, then go into cool lake water, which pulls moisture past the seals as the air inside the hub contracts. Water plus grease plus steel equals rust, and rust in a bearing race becomes a seized hub on a highway shoulder.
Signs worth catching early:
- Heat. After a drive, carefully touch the back of your hand near each hub. Warm is normal. One hub noticeably hotter than the others is a warning.
- Play. Jack the wheel off the ground, grab it at twelve and six o'clock, and rock it. More than a whisper of movement means the bearing is loose or worn.
- Noise. A growl or rumble that changes with speed, coming from one side.
- Grease slung around the inside of the wheel, which means a seal has failed.
- Rusty or milky grease when you pull a cap, which means water got in.
Bearings are a maintenance item, not a repair-when-broken item. The usual practice on a submerged trailer is to inspect and repack annually and to replace bearings, races, and seals at the first sign of water or rust. Bearing kits, races, seals, dust caps, cotter pins, castle nuts, marine-grade wheel bearing grease, and bearing protectors are all counter items.
Bring the trailer's axle information, the numbers off the old parts, or the old bearing and seal themselves. Numbers stamped on a race are the fastest path to the right kit, which is one more reason the old part is always welcome at the counter.
Getting to the Counter From Runaway Bay
Runaway Bay sits in northwest Wise County on Lake Bridgeport, with the drive running on US-380 through Bridgeport to Decatur. That stretch covers a lot of towing: recreational trailers heading to the water, working trucks hauling for property projects, and the mix of both that defines the area. The same corridor serves Bridgeport customers, which is convenient when a hitch problem shows up mid-errand.
Our hours matter more in towing season than any other time of year. The counter is open Monday through Friday 8:00 AM to 5:30 PM and Saturday 8:00 AM to 1:00 PM, and we are closed Sunday. There is no after-hours line. A trailer light that quits Saturday afternoon or a bearing that howls Sunday means the trip waits until Monday at 8:00 AM. The fix is boring and effective: do the walk-around Thursday, call us Friday, and pick up what you need before the weekend.
Reach us at (940) 627-2350 with the year, make, and model of the truck, the trailer's coupler size and axle information, and what you are trying to solve. If something has to be special ordered, most special orders arrive within one to two business days, which beats finding out on Friday at 4:00 PM.
Stock the Truck Before the First Trip
Gear that lives in the truck is gear you have when you need it. A reasonable towing kit for lake season, all of it available over the counter alongside our general auto parts and supplies:
- Spare trailer bulbs, a spare 7-pin pigtail or 4-pin adapter, crimp terminals, and heat shrink
- Dielectric grease and a small can of contact cleaner
- A lug wrench that actually fits the trailer lugs, plus a torque wrench
- A jack with a base that works on gravel and dirt, and a block of wood
- Wheel chocks and a set of leveling blocks
- Ratchet straps, tie-downs, and a tarp
- Tow strap, recovery strap, rated shackles, gloves, and a dampener
- Jumper cables, a work light, zip ties, electrical tape, and a basic wrench and socket set
- Bearing grease and a spare bearing kit for the trailer's axle size, if you tow far from home
None of it is exotic, and all of it is the difference between a twenty-minute roadside fix and a wrecker.
Safety reference: ARB recovery-equipment safety guidance. Use the instructions for your exact vehicle, machine, and product.
FAQ: Towing Questions From Runaway Bay Customers
What is the difference between a 4-pin and 7-pin trailer connector?
A 4-pin flat carries ground, running lights, and the two turn and brake circuits, which is enough for a light utility or boat trailer. A 7-pin round adds an auxiliary power line, a reverse circuit, and the electric brake output. Any trailer with electric brakes requires a 7-pin, because an adapter cannot create a brake circuit the truck side does not have.
Can a tow strap be used to pull a stuck truck out of the mud?
Do not snatch a stuck vehicle with a tow strap. Kinetic recovery requires product-specific ratings, verified recovery points, trained operators, and a cleared area. Never attach to a hitch ball or ordinary tie-down loop. If the gear, vehicle points, or procedure are uncertain, use a qualified recovery service rather than improvising.
How often should boat trailer bearings be repacked?
Use the axle and hub manufacturer's service interval and procedure. Submersion and heavy use may require more frequent checks, but sealed hubs and serviceable bearings are not handled alike. Milky grease, unusual heat, play, or noise calls for inspection. Bring axle details or the old bearing and seal numbers so replacement parts match.
What size hitch ball does a trailer need?
Read the size stamped on the coupler: 1-7/8 inch, 2 inch, and 2-5/16 inch are the common ones and they look alike. Match the ball to that stamp, match the shank to the mount, and remember that the lowest rating among ball, mount, receiver, and coupler governs the whole setup. Measure receiver and coupler heights to pick the right drop.
Does the Decatur store carry towing parts for Runaway Bay customers?
We stock trailer wiring, connectors, bulbs, hitch balls, ball mounts, pins, chains, straps, shackles, tie-downs, bearing kits, and grease at our counter at 803 W Main St in Decatur, along the US-380 route through Bridgeport. Call (940) 627-2350 to check stock before the drive. More answers are on our FAQ page.